🟠 Set up Project Python Environment (managed by uv)
Each project uses its own Python environment stored in a project folder named .venv.
project-repo-name/
  .venv/             # <--- project Python environment
  pyproject.toml
  README.md
This isolates dependencies, prevents conflicts with system Python, and makes the project reproducible on any machine. If something breaks, the .venv/ folder can be deleted and recreated.
Before Starting
You should have already opened the project in VS Code using code ..
Open a VS Code terminal and list the contents of the current folder:
ls
You are in the correct folder when you see files such as:
pyproject.toml
README.md
If you do NOT see those files (click here)
Follow the earlier steps carefully. Continue once you see both pyproject.toml and README.md.
Step 1. Create the Project Environment
Run the following commands in the VS Code terminal. Copy and paste one command at a time and hit Enter or Return after pasting to run it.
uv self update
uv python pin 3.15
uv python install
uv lock --upgrade
uv sync
uv audit
These commands:
- Keep
uvupdated. This may not work if uv was installed with a package manager such as Homebrew; in that case, update uv with that package manager. - Pin the desired Python version (creates
.python-version). - Install the Python version pinned by the project (see
.python-version). - Update the project dependency versions allowed by pyproject.toml and
record the resolved versions in
uv.lock. - Create or update the project
.venvand install the project dependencies recorded inuv.lock. - Audit all dependencies for known vulnerabilities and adverse package statuses.
If prompted: "We noticed a new environment has been created. Do you want to select it for the workspace folder?", click Yes.
NOTE: If uv sync completes successfully but reports that it could not hardlink files and is falling back to copying them, you may continue. This is a performance warning, not an installation failure.
Important: Environment Verification
Run:
uv run python --version
uv run python -c "import sys; print(sys.executable)"
Verify:
- .venv/ appears in the project root.
- The commands complete without errors.
- The reported Python executable is inside this project's .venv folder.
If this step fails (click here)
uv command not found:
- Close and reopen VS Code
- Verify uv was installed during Workflow A. Set Up Machine.
Dependency install error:
- Delete the .venv/ folder
- Rerun: uv lock --upgrade
- Rerun: uv sync
2. Set Up Git Hooks
You should have already created the project environment and opened the project in VS Code.
Git hooks catch common issues before code is committed and pushed to GitHub.
Run the following commands in the VS Code terminal to:
- Set up prek to run Git hooks for this repository.
- Stage all project files.
- Run the configured checks.
- If any files are automatically corrected, review the changes and run the checks again.
Copy and paste one command at a time and press Enter or Return.
uvx prek install --force
git add -A
uvx prek run --all-files
If checks automatically modify files, review the changes and re-run (UP ARROW):
uvx prek run --all-files
After the hooks are installed, they run automatically during git commit.
For more information, see Git Hooks: Automated Quality Checks.
If Git hooks cannot be installed
On some restricted machines, Git hooks may not be permitted.
You can continue working without installing the hooks. Run the configured checks manually when possible:
uvx prek run --all-files
Required project checks must still pass before work is considered complete.
If checks fail
Checks may fail on restricted machines where Git hooks cannot be installed. If this occurs, it is safe to skip them and continue with the project.
3. Align VS Code with the Project Environment
Ensure VS Code uses the project .venv/
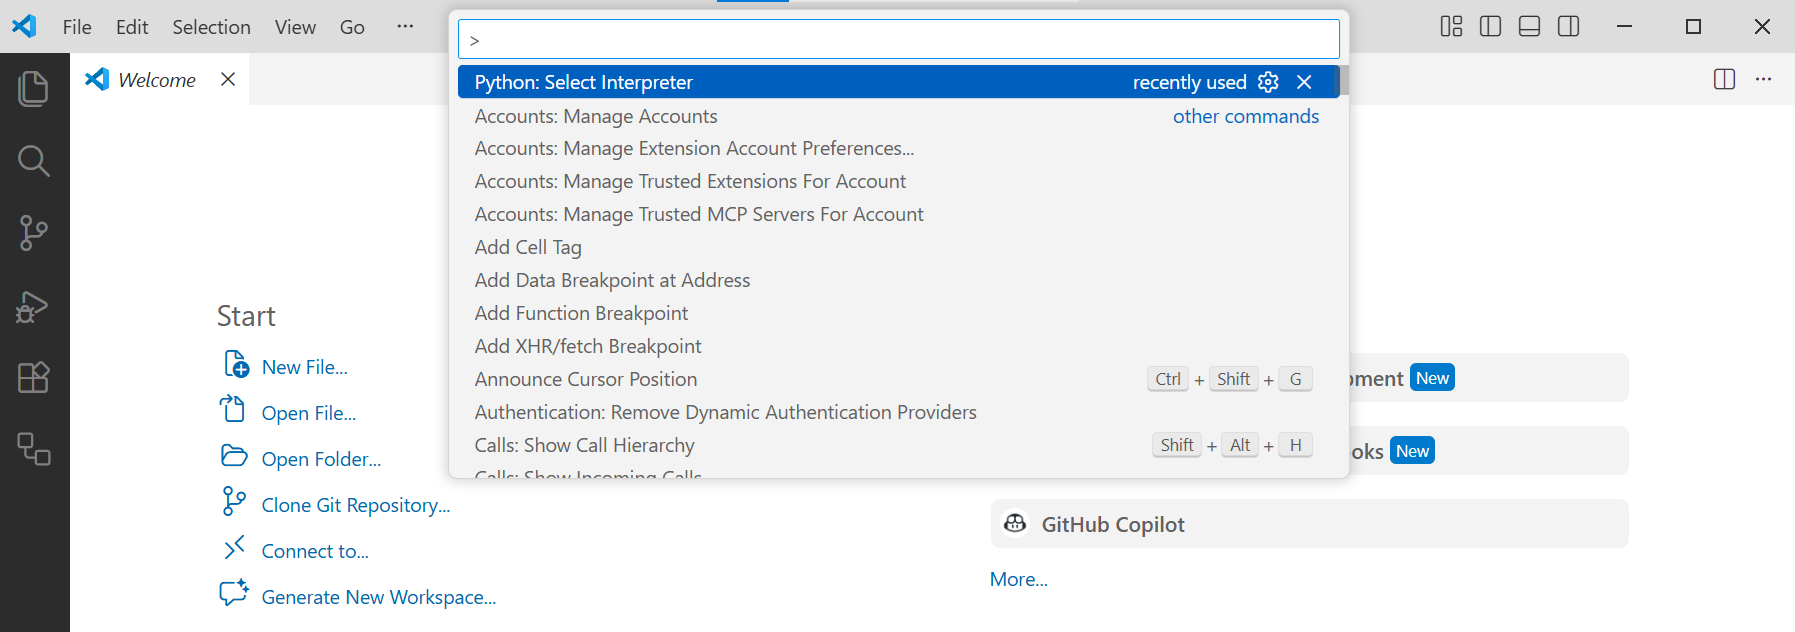
- Open the Command Palette (menu: View / Command Palette, or Ctrl+Shift+P)
- Type and choose: Python: Select Interpreter
- Choose the interpreter inside this project's .venv folder

Reload VS Code
- Open the Command Palette (same as before).
- Type or choose: Developer: Reload Window
Verification
- VS Code uses the Python interpreter inside this project's .venv/ folder.
- VS Code reloads without warnings about a missing Python environment.